
A Simple Guide to Changing Brake Fluid
When it comes to vehicle maintenance, most people remember oil changes and tire rotations, but brake fluid often gets overlooked. Yet this small detail plays a big role in your safety. Whether you’re a hands-on DIY enthusiast or just curious about what goes into your car’s upkeep, understanding how to change brake fluid is a vital piece of the puzzle.
In this guide, we’ll break down the process of changing brake fluid in a way that’s easy to understand, even if you’ve never picked up a wrench before. Along the way, we’ll also explain why it matters and how Big Sky Tire & Repair in Deming, NM, can help when you’re ready for professional support.
Why Brake Fluid Matters
Your vehicle’s braking system relies on hydraulic pressure—and brake fluid is what makes that pressure possible. When you press the brake pedal, brake fluid transfers the force to your brake calipers, which then apply pressure to your brake pads and slow down your vehicle.
But here’s the catch: brake fluid is hygroscopic. That means it absorbs moisture over time, and that moisture can lower the boiling point of the fluid. When that happens, your brakes become less effective, especially in high-stress situations like emergency stops or steep downhill drives. Moisture in the system can also lead to internal corrosion and expensive damage.
That’s why manufacturers typically recommend replacing brake fluid every 2–3 years or around every 30,000 miles—though this can vary depending on your car and driving conditions.
Signs You Need to Change Your Brake Fluid
- Spongy or soft brake pedal: If the pedal feels squishy or sinks to the floor, old or contaminated fluid could be the cause.
- Longer stopping distances: This is a major red flag, and it could mean your brake fluid has lost its effectiveness.
- Dashboard brake warning light: This could point to a range of issues, including fluid that’s too low or degraded.
- Dark or dirty fluid: New brake fluid is usually clear or light amber. If it looks dark or murky, it’s time for a change.
If you notice any of these signs, don’t ignore them—especially since your brakes are one of the most critical safety systems in your car.
What You’ll Need
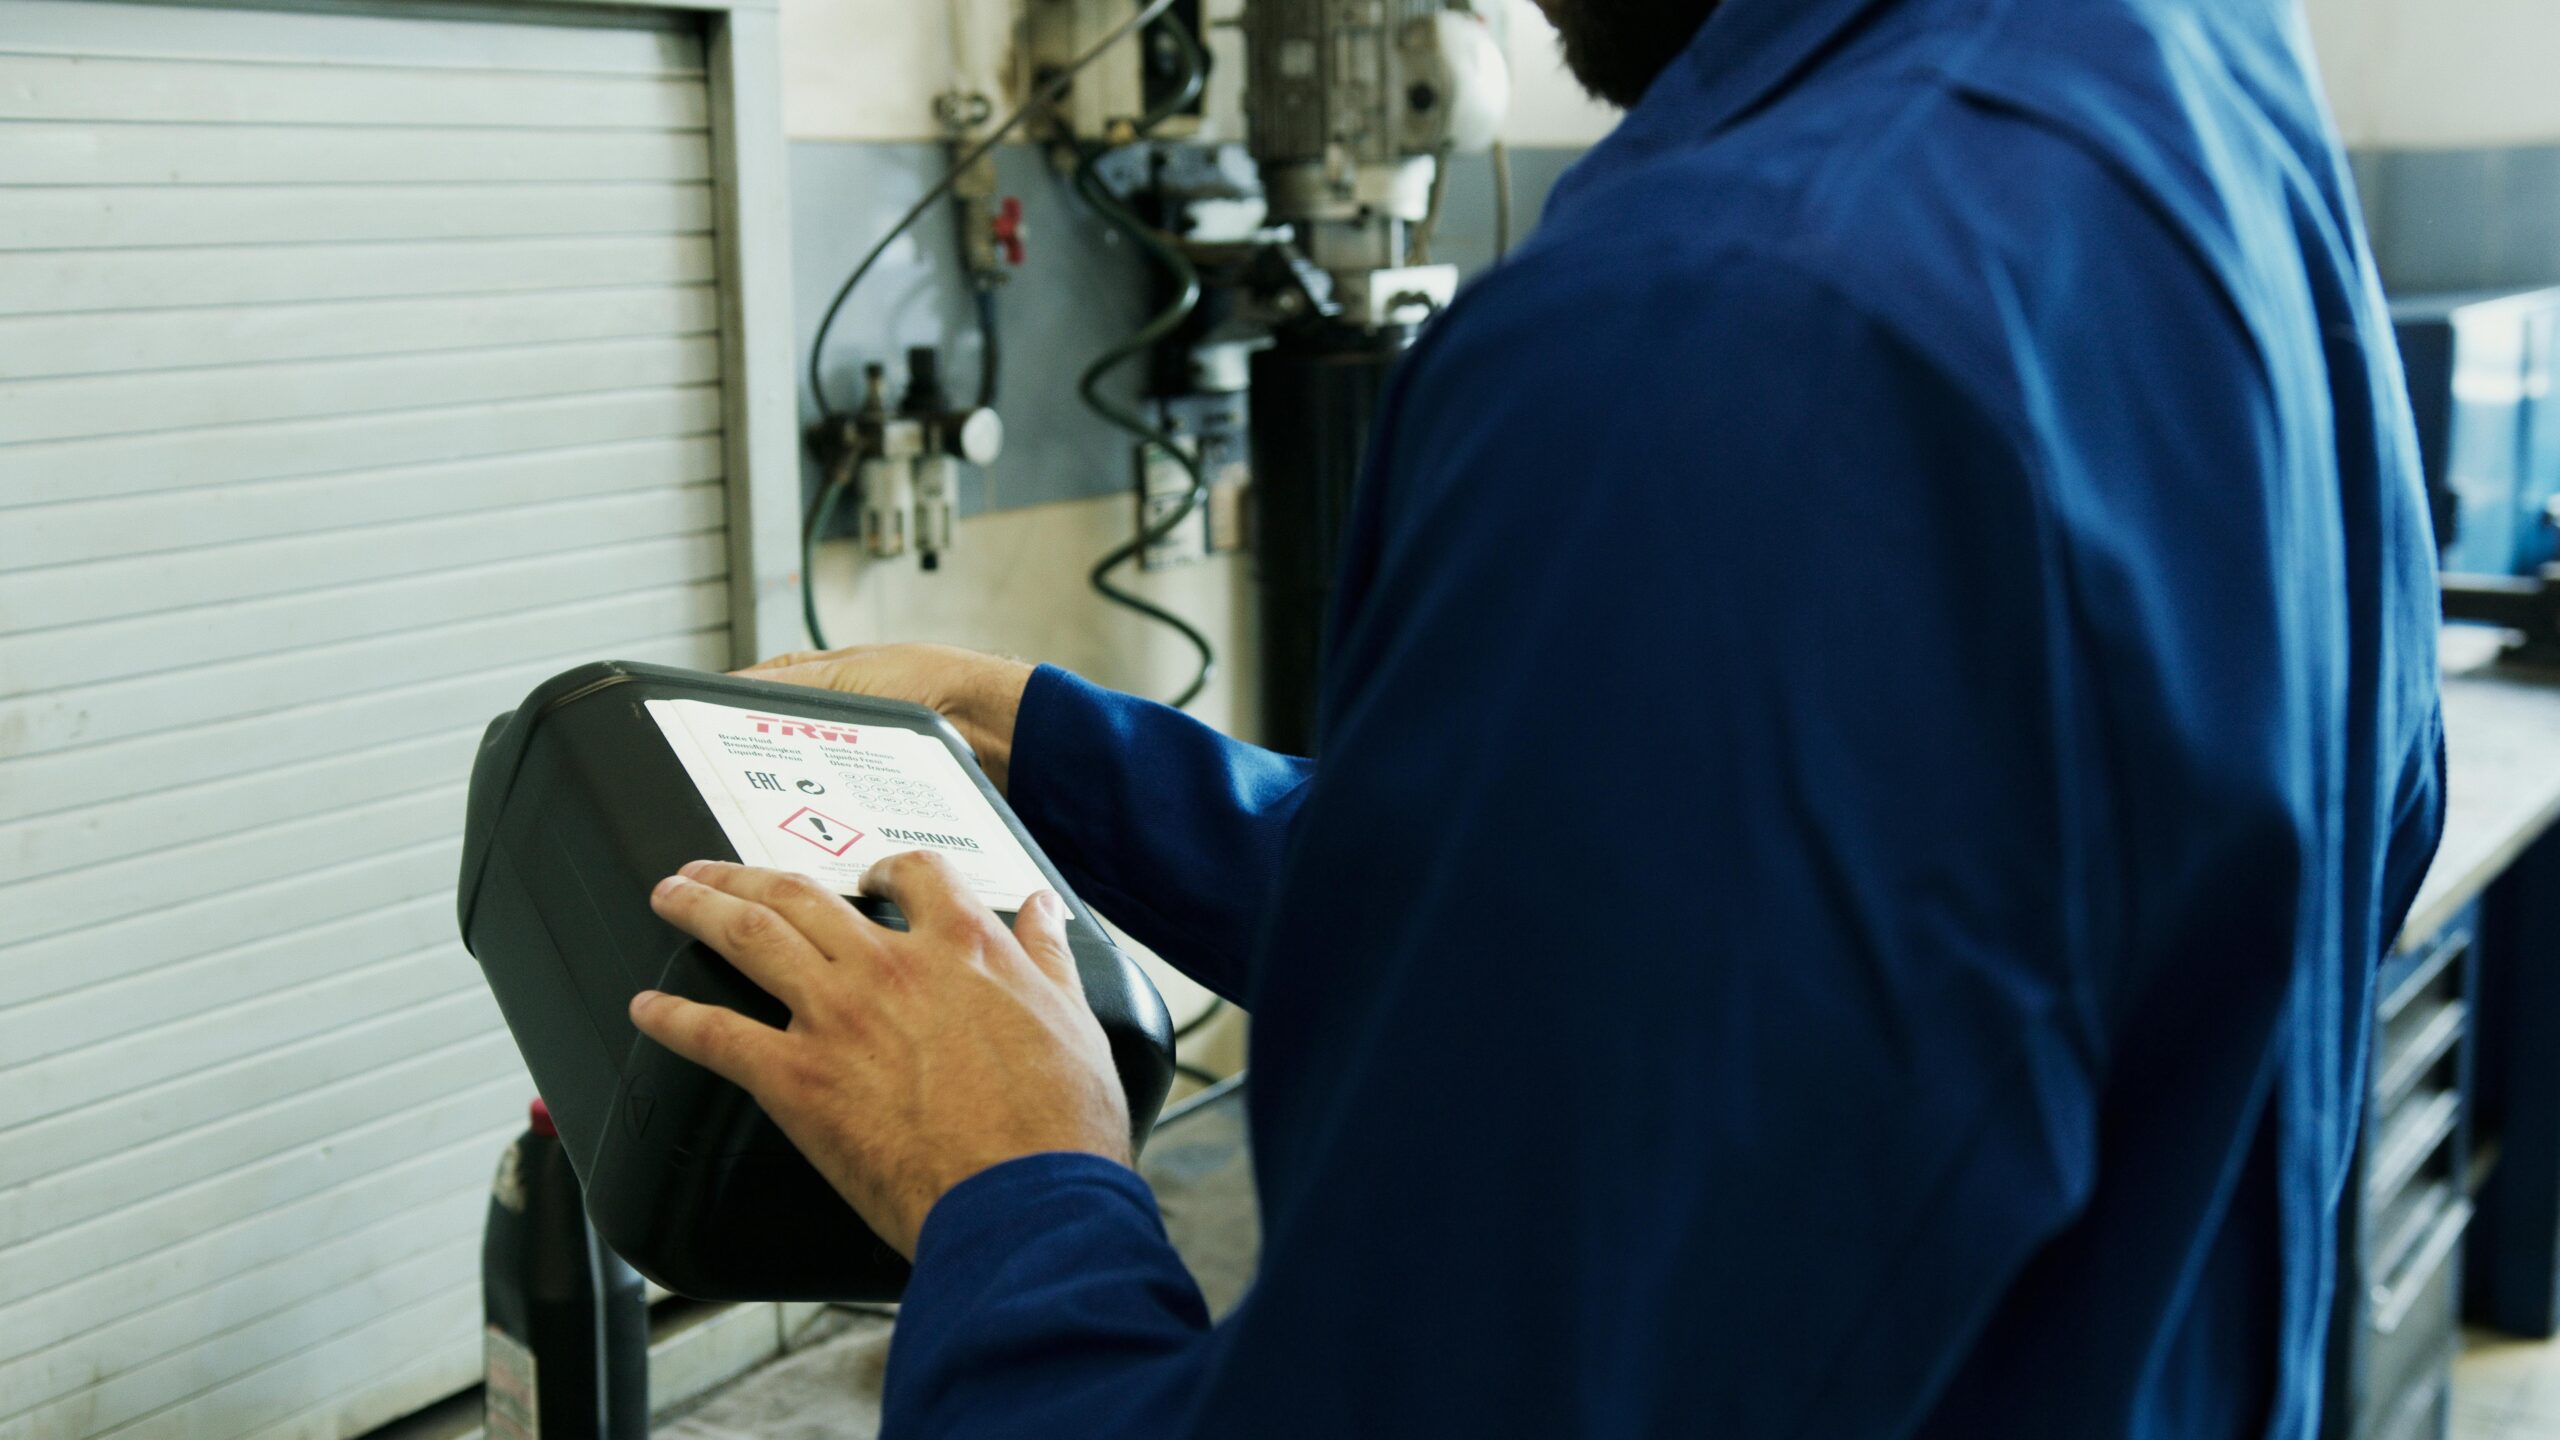
- New brake fluid (check your owner’s manual for the correct type, like DOT 3, DOT 4, or DOT 5.1)
- A turkey baster or fluid syringe
- A wrench that fits your bleeder valves
- A brake bleeder kit or a length of clear tubing and a catch bottle
- A jack and jack stands
- Safety gloves and eye protection
- A friend (optional, but helpful)

Step-by-Step: How to Change Your Brake Fluid
1. Prep Your Vehicle
Park your car on a flat surface, engage the parking brake, and let the engine cool. Jack up the vehicle and safely secure it with jack stands. Remove all four wheels to access the brake calipers.
2. Locate the Master Cylinder Reservoir
Pop the hood and find the brake fluid reservoir, usually on the driver’s side near the firewall. Clean the area around the cap with a rag to prevent dirt from entering the system.
3. Remove Old Fluid from the Reservoir
Use a turkey baster or fluid syringe to extract as much old fluid from the reservoir as possible. Discard the fluid in a safe, eco-friendly way (most auto shops or recycling centers will take it).
4. Refill with Fresh Fluid
Pour in new brake fluid up to the “MAX” line. Keep the cap loosely in place to prevent contamination but allow air to flow in during the process.
5. Bleed the Brakes
This step removes the old fluid from each brake line and replaces it with fresh fluid. Start with the brake farthest from the master cylinder—usually the passenger rear—and work your way forward (passenger rear → driver rear → passenger front → driver front).
- Locate the bleeder valve on the caliper.
- Attach your clear tubing and place the other end in a catch bottle.
- Have your helper press the brake pedal several times, then hold it down.
- While they hold the pedal, use the wrench to loosen the bleeder valve.
- Fluid will flow out—watch until the old, dark fluid is replaced with fresh, clear fluid.
- Tighten the valve before your helper releases the pedal.
- Repeat this process until only clean fluid comes out, then move to the next wheel.
Important: Keep an eye on the reservoir during this process and keep topping it off. If it runs dry, you’ll introduce air into the system, which can compromise your brakes.
6. Final Touches
Once all four brakes have been bled and the reservoir is full, secure the cap and check for leaks. Reinstall your wheels, lower the vehicle, and test the brake pedal. It should feel firm—not soft or spongy.
Safety Tips
- Brake fluid is corrosive. Avoid getting it on paint, plastic, or your skin.
- Wear gloves and goggles for protection.
- Never reuse old brake fluid.
- Dispose of brake fluid according to local hazardous waste regulations.

When to Call the Pros
While this process is doable at home with the right tools and time, it’s also something many drivers prefer to leave to a professional. That’s where we come in.
At Big Sky Tire & Repair, we’re proud to provide thorough, expert brake services you can count on. Nate and our experienced team don’t cut corners—we make sure your vehicle is safe, responsive, and ready for the road ahead.
Changing brake fluid is just one piece of the puzzle when it comes to protecting your braking system. Let us inspect your brakes, check your fluid levels, and ensure everything is working exactly as it should.
Book your next brake fluid service with Big Sky Tire & Repair today—because your safety is worth it.